
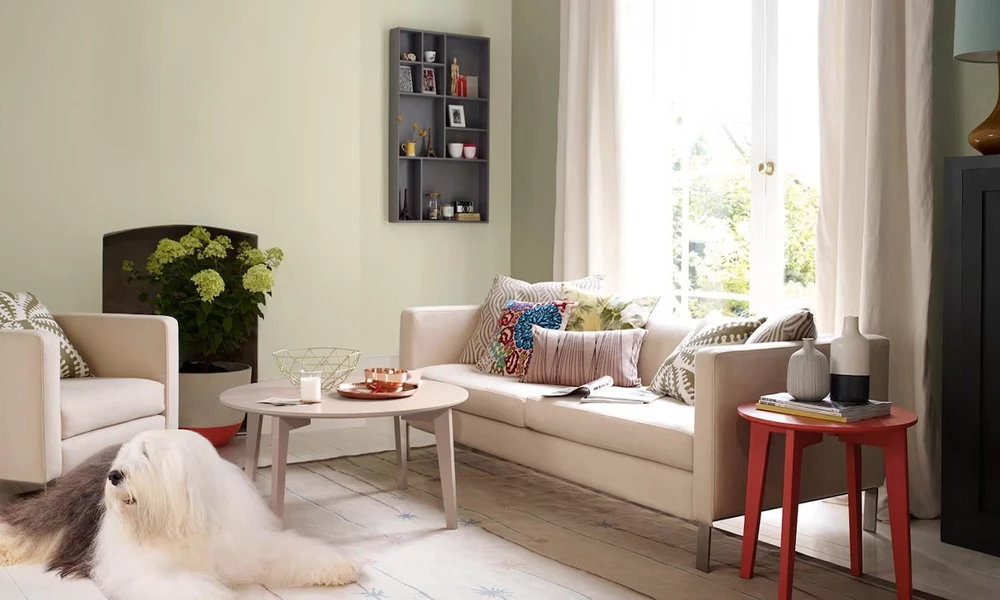
Painting your home is one of the most effective ways to refresh its interiors, improve aesthetics, and increase property value. However, achieving a smooth, professional-looking finish isn’t just about selecting the right colours. It also depends on following the correct painting sequence. Knowing the right order to apply paint for house interiors helps reduce mess, saves time, and ensures consistent results throughout your home.
Whether you’re planning a complete renovation or simply updating a few rooms, this step-by-step guide explains the best order for interior wall painting and where finishes like luster paint fit into the process.
Why the Painting Order Matters
Many homeowners focus on choosing paint colours but overlook the importance of painting in the correct sequence. An organized approach prevents accidental drips, minimizes touch-ups, and creates a cleaner finish.
Painting in the right order offers several benefits:
- Reduces the risk of damaging freshly painted surfaces.
- Makes the project more efficient.
- Ensures even paint coverage.
- Helps achieve a professional finish.
- Simplifies cleaning and maintenance during the project.
Proper planning also allows you to complete the work with fewer interruptions and less wasted material.
Step 1: Prepare Every Room Before Painting
Preparation is the foundation of successful interior wall painting. Before opening a paint can, take time to prepare each room thoroughly.
Start by:
- Removing furniture or moving it to the centre of the room.
- Covering floors and remaining furniture with protective sheets.
- Removing switch plates, curtain rods, and wall décor.
- Filling cracks, nail holes, and dents with wall putty.
- Sanding rough areas for a smooth surface.
- Cleaning walls to remove dust, grease, and stains.
- Applying a quality primer where needed.
A properly prepared surface allows paint to adhere better and improves the final appearance.
Step 2: Paint the Ceiling First
The ceiling should always be the first surface you paint. Since paint may drip during application, completing the ceiling first prevents accidental splatters from ruining freshly painted walls.
Use long, even roller strokes and allow the ceiling to dry completely before moving to the walls. White or light neutral shades remain the most popular choices because they make rooms feel brighter and more spacious.
Step 3: Paint the Walls
Once the ceiling has dried, begin your interior wall painting project. Start near the ceiling and work downward to maintain a clean finish.
For best results:
- Cut in around corners, windows, and ceilings using a brush.
- Use a roller for larger wall sections.
- Apply paint in overlapping “W” or “M” patterns for even coverage.
- Allow the first coat to dry fully before applying the second coat.
Most walls require two coats to achieve rich, uniform colour and long-lasting durability.
Step 4: Paint Doors, Windows, and Trim
After the walls are complete, paint the trim, window frames, skirting boards, and doors.
Painting these surfaces last offers two major advantages:
- Any brush marks or accidental paint from the walls have already been corrected.
- Clean edges between walls and trim become much easier to achieve.
Use painter’s tape where necessary to create crisp, professional lines.
Step 5: Apply Luster Paint for Added Elegance
If you’re looking for a refined finish, luster paint is an excellent choice for selected interior surfaces. Known for its subtle sheen, it reflects light gently while offering greater durability than standard matte finishes.
Luster paint is particularly suitable for:
- Living room feature walls.
- Hallways with frequent foot traffic.
- Dining rooms.
- Children’s rooms.
- Doors and decorative trims.
Its washable surface makes cleaning easier, making it ideal for busy households. While matte paints effectively hide minor wall imperfections, luster finishes provide a sophisticated appearance with improved stain resistance.
Plan the Order of Rooms
When painting an entire house, it’s also important to decide which rooms to paint first.
A practical sequence is:
- Bedrooms.
- Living room.
- Dining room.
- Kitchen.
- Bathrooms.
- Hallways and corridors.
- Entryways.
Starting with rooms used less frequently allows paint to cure properly before daily activities resume. High-traffic areas can then be completed toward the end of the project.
Allow Proper Drying Time
Rushing between coats is one of the most common painting mistakes. Always follow the manufacturer’s recommended drying time before applying additional coats or moving furniture back into the room.
Proper curing helps prevent:
- Peeling.
- Streaks.
- Uneven colour.
- Surface damage.
- Smudges from accidental contact.
Good ventilation also speeds up drying while improving indoor air quality during the painting process.
Common Painting Mistakes to Avoid
Even with quality paint for house interiors, certain mistakes can affect the final outcome.
Avoid:
- Painting over dirty or damp walls.
- Skipping primer on repaired surfaces.
- Using poor-quality brushes or rollers.
- Applying thick coats instead of multiple thin coats.
- Ignoring drying times between coats.
- Painting in extremely humid conditions.
Paying attention to these details helps ensure a smooth, long-lasting finish.
Final Thoughts
Following the correct order when applying paint for house interiors can make the entire painting process more efficient while delivering professional-looking results. By preparing surfaces carefully, painting ceilings before walls, finishing with doors and trim, and using durable finishes like luster paint where appropriate, homeowners can achieve beautiful interiors that stand the test of time.
Whether you’re refreshing a single room or undertaking a full interior wall painting project, a well-planned approach ensures cleaner application, better durability, and a home that feels brighter, fresher, and more inviting for years to come.
